Overview
In order to view or edit any information in a project of TopTeam, you must be a Team Member of that project. By adding or removing users from a project, you can control the level of access for that project. To access a project’s data, a user must be a project’s Team Member. Users with System Administrator permissions automatically have full access to all projects.
This article describes the steps for adding and removing Team Members from a project.
Who should read this?
- TopTeam Administrators
- Project Admin
Prerequisites
- You must be logged in as a user having System Administrator or Project Admin permissions.
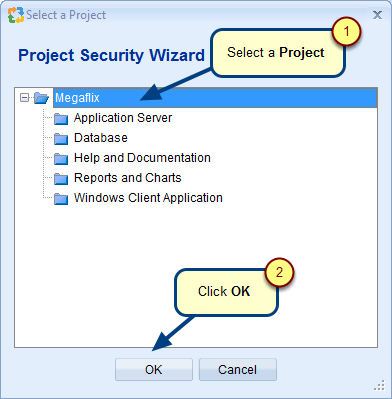
Step 1. Open a project in its editor
Step 2. Navigate to Team Members screen
Users that appear in gray color in the Team Members list are not directly added as team members to the project. These Users are added to the project via User Groups.
For more information on User Groups, refer to the article Creating User Groups in TopTeam.
Step 3. Project Wizard opens
Step 4. Add User(s) to Project
Step 5. The selected users are added to the Project
Step 6. Review Action Summary
Step 7. Review Activity Log
See Also
Revised: May 6th, 2020


