Overview
This document explains how to migrate TopTeam SQL Server Database from one SQL Server version to another.
There are several options if you wish to move a database from an older version such as SQL Server 2005 to the latest version of SQL Server.
An option which works without too much hassle is manually detaching and attaching the database/log files.
This document elaborates on this very approach.
NOTE:
TopTeam Database schema Export and Import utilities
TopTeam has a native database schema export and import utilities to export and import TopTeam Database Schema from one database to another.
However, these utilities are efficient to use only if you want to migrate data from one database type to another, e.g. from Firebird to SQL Server or from Oracle to SQL Server, etc.
To migrate data from older SQL Server version to the latest SQL Server version it is best to use the tools provided by Microsoft SQL Server.
Other approaches to migrate data from older SQL Server version to the latest SQL Server version
Refer to the official website of SQL Server for more information on this topic.
Who should read this?
- TopTeam Administrators
- Database Administrators
- IT Support
Prerequisites
- You should have administrative access to the source and destination SQL Servers.
Step 1. Detaching the database
Step 1.1. Identify TopTeam SQL Server Database Files
Identify the TopTeam SQL Server Database files.
In later steps, we will need to copy these files to the computer on which destination SQL Server is running.
In the example above, TopTeam Database name is TopTeam_Data. You may have a different name as specified while installing TopTeam Database.
Step 1.2. Detaching the database from Source SQL Server
Select TopTeam Database that you want to migrate, in the databases node of SQL Server Management Studio as shown in the screenshot above.
Right-click this database and select Detach. Ensure that the database is running (notice the green arrow in the SQL Server Instance name).
Step 1.3. Detach the database
Clicking Detach… will open the Detach Database window as shown in the image above. Check Drop and click OK.
This removes the ‘TopTeam_Data’ node from the databases folder in SQL Server Management Studio (you may need to attach it again).
Step 2. Copy the DATA/LOG Files
Copy the TopTeam_Data_Data.MDF and TopTeam_Data_Log.LDF% files to a location on the C: drive of the computer on which the destination SQL Server is installed.
Step 3. Attaching the database
Step 3.1. Select the Attach option in SQL Server Management Studio
In SQL Server Management Studio, right-click the Databases node and click Attach… as shown in the image above.
Clicking Attach will pop-up the Attach Databases window.
Step 3.2. The Attach Databases window opens
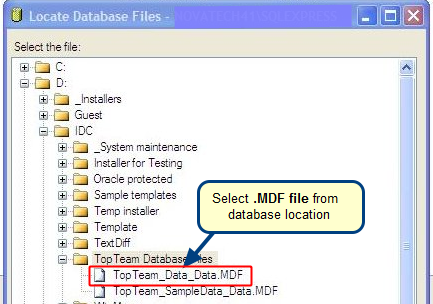
This step opens the Locate Database Files folder/file browser window. Locate the files you placed in Step 2. In this tutorial example, the files were placed in the location shown in the image.
Step 3.3. Select the detached TopTeam Database file
Open the folder which contains the DATA /LOG files and select the .MDF file. Now click the OK button. This brings in the file information into the Attach Databases window. Although you just chose the .MDF file, the .LDF file is automatically brought in as well.
Now click the OK button in the Attach Databases window. Within a few seconds, the TopTeam_Data database appears in the Databases folder of the destination SQL Server.
Step 3.4. The Attach Databases Window with file details
Expand the TopTeam_Data node and verify the Objects as shown in the next screenshot.
Step 3.5. Verify some of the transferred Objects in the destination SQL Server
TopTeam SQL Server Database is now migrated to the destination SQL Server.
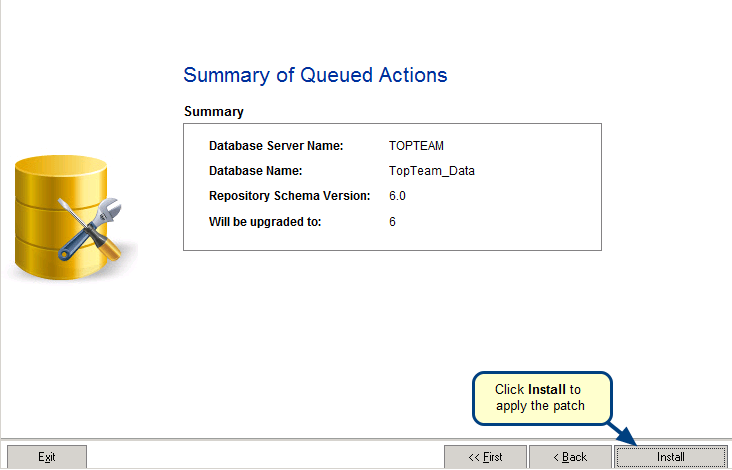
Try connecting TopTeam Application Server or TopTeam Web Server with TopTeam Database in the latest SQL Server. Ensure that you change the Database Settings in TopTeam Server Management Console so that TopTeam Server connects to the right database.
Revised: July 10th, 2019


